Sunday, November 13, 2022

RC Car Explorations

 Well thanks to an insatiable curiosity and my friend Evan, I've purchased Element RC Enduro Bushido Trail Truck 4X4 RTR 1/10 Rock Crawler (White) w/2.4GHz Radio. I'm going to look into what it might take to add some autonomy features to it, probably following/learning from what they've done at https://www.donkeycar.com/ I happen to already have an Jetson Nano to play with, a couple arduinos, and some motor drivers along with some nema 17 motors (which i've been thinking of using for either autonomous crawler vehicle, and/or 3d printed robot arms).


Today I learned:

- EC3 connectors (which are those blue ones commonly used for RC Planes), and dean's connectors (usually used for RC cars.) I had to buy an adaptor because the smart charger I had for my RC planes uses these EC3 connectors.

- I should be able to 3d print a mount for the computer for the "body" which is the cover that goes over the RC vehicle. 

- My batteries are 2C and 5200 mah @ 7.2Volts LiPo, so theoretically I can charge

but my battery charger can only output 5A. (which is fine, but just slower speed)

- I wanted to know what voltage would indicate my batteries are fully charged so the relationship is: 

so my 2s battery when fully charged would provide 8.4 volts.


Now I'm going to go buy some more of the donkey car parts so I can get some automation going.

Friday, January 21, 2022

Yolact

Here's a quick rundown of how I used the yolact (a well written semantic segmentation network) to train a detector and classifier for my face.


Labeling Data with LabelMe


Running my custom detector


LabelMe Setup (in anaconda prompt)

conda create --name=labelme python=3.6

conda activate labelme

pip install labelme

git clone https://github.com/wkentaro/labelme

pip install pycocotools

LabelMe Usage

labelme

(label your images into separate folders: train, validate, test)

(create a label.txt each folder with classes)


Convert Labels to COCO format (in anaconda prompt)

.\labelme2coco.py <path to folder with pics>\nick_train\ <output folder>\nick_train_coco --labels <path to class list>\label.txt

(repeat for each folder)

(copy output folders into yolact/data/)


Configure dataset in yolact

configure yoloact/data/config.py with your dataset according to either of these:

https://github.com/dbolya/yolact

https://www.immersivelimit.com/tutorials/train-yolact-with-a-custom-coco-dataset


Train custom network

./train.py --config=yolact_resnet50_nick_dataset_config

If you get a cpu missing error, see the post below about fixing CPU/GPU error then try again.


Run the custom network 

(webcam)

python eval.py --trained_model=./weights/yolact_plus_resnet50_nick_dataset_535_1070_interrupt.pth --config=yolact_resnet50_nick_dataset_config --score_threshold=0.15 --top_k=15 --video_multiframe=4 --video=0

(files)

python eval.py --trained_model=./weights/yolact_plus_resnet50_nick_dataset_535_1070_interrupt.pth --config=yolact_resnet50_nick_dataset_config --score_threshold=0.3 --top_k=15 --images=./data/nick_test:output_images


-----------------------------------------

References:

https://github.com/dbolya/yolact

https://github.com/wkentaro/labelme


The Papers

https://arxiv.org/pdf/1904.02689.pdf

https://arxiv.org/pdf/1912.06218.pdf


For Making Datasets

https://github.com/dbolya/yolact/issues/70#issuecomment-504283008


Tutorial for custom training

https://www.immersivelimit.com/tutorials/train-yolact-with-a-custom-coco-dataset

https://daddynkidsmakers.blogspot.com/2020/05/yolact-based-object-segmentation-with.html


Fixing training CPU/GPU error

https://github.com/dbolya/yolact/issues/664#issuecomment-878241658

Monday, July 19, 2021

Astrophotography Post vaccine!

Why Astro?

I've got the bug. I love astrophotography. It requires the combination of mechanical, electrical, software engineering and art skills all in concert. For it to work, it really requires a perfect timed sequence of the system to produce a favorable image. When it happens its like a symphony.


Portable Config

- Tripod from amazon (Neewer Camera Tripod Monopod Carbon Fiber with Rotatable Center Column)
- William Optics base "for iOptron Skyguider Pro" (fantastic upgrade)
- Skywatcher Star Adventurer 2
- Canon T7i astromodded
- Redcat51 (250mm Focal Length)
- ASI290MM Mini + Uniguide 32mm/120mm FL
- SVBony Reddot
- 3D Printed and attached Seagull 1x,2x right angle finder to polar scope
- MiniPC (J4125 Celeron quad core processor) + 10" LCD screen (~10 Watts)
- Jackery 300 Watt portable battery bank


Bazooka Config V1 (DSLR)

- EQ6-R Pro Mount
- Celestron 9.25" SCT Telescope (2350mm FL and F/10)
- ASI290MM Mini + 50mm guide scope (removed eyepiece and 3D Printed adaptor)
- Canon T7i astromodded with light cover for eye piece
- SVBony Reddot with 3D Printed 90deg adaptor
- Starizona F.63 Reducer & Corrector IV (reduces to 1525mm FL and F/6.5)
- Celestron 2" Visual Back
- 3M taped wire routing plastic clips
- Dew heaters + Controller for C9.25 and guide scope
- Jackery 300 Watt portable battery bank or Marine Deep Cycle Battery (100 Ah)

Bazooka Config V2 (Mono Astrocam)

- upgrades beyond V1 includes ZWO ASI294MM-Pro Camera
- ZWO EAF (not installed yet) - for automatic focusing
- ZWO EFW (installed) - for automatically switching filters (this lets us get color with a mono camera)
- OAG installed... backfocus is a pain! I still don't have it perfect. I have some coma or tilt.

First indoor setup on artificial star


Installing Narrowband Filters (Antilia LRGBSO)


Example Pictures

Western Veil Nebula @ 1525mm - shot from Bazooka config V1 from backyard (Bortle7) from 2.5 hrs of data.

This is my first narrowband image (LRGB) stacked each channel in DSS individually, then combined in GIMP. 10 minutes of exposure on each channel.


https://en.wikipedia.org/wiki/North_America_Nebula I shot this from Oregon with 30 minutes of 60 second exposures stacked. Captured with my Canon T7i, 135mm F2 lens, a UHC filter, and a star tracker. This was the Portable Config.


Tuesday, March 30, 2021

Canon T7i-Astrophotography Mod

I bought a refurbished Canon T7i with the intention of modifying it (removing the IR cut filter) to make it suitable for nebula gas emission astrophotography. I tried buying all these external astronomik special filters (e.g. UHC EOS APS-C Clip filter, and CLS EOS APS-C Clip Filter) to filter out city lights - this helped a lot, but never compared to the top notch photos on the internet. I've got the itch for full spectrum! That was it. I set out on the scary attempt at removing the built-in IR cut filter (voiding my warranty):

I roughly followed the guide by Gary Honis on:

  • http://dslrmodifications.com/rebelmod450d1.html
  • https://www.youtube.com/watch?v=7huA4R9rXrQ
Guide deviations for T7i
This was reasonably close to the T4i guides. 
  1. I found that there was screw hidden under the T7i logo instead of needing to peel back the rubber grommet material as described in the guide(it's permanently attached - so don't do that).  There were several other screws that didn't quite match the guides. I deduced it carefully, and recorded my whole process. I may publish a written/video guide later.
  2. I installed the Astonomik MC-Klarglas EOS1000D filter. It was a tight squeeze and fractured the edges a little bit as I snapped the metal housing back on it - glad it was crack resistant (at least in my case).
  3. There were a lot more connectors, and using the toothpick was great for gently handling the connectors. It's definitely an art to manipulate. I damaged one of the black connectors... even with a toothpick!!! Sheesh, fragile hardware. (I later touched it with a soldering iron momentarily to reseat it - slide board discoloration)
Now to test it on some nebula tomorrow!

First moment firing it up. You can see infrared light from TV remote in the camera, but not on the iPhone!


Lots more connectors

(Hidden Screw behind logo)


Monday, March 1, 2021

Mars is cool!

 https://mars.nasa.gov/resources/curiositys-1-8-billion-pixel-panorama/?site=msl

This is probably worth a look! Things I noticed:

  • Can see that the tire has a hole in it. Some interesting material science considerations there. Maybe make it metal next time? Although compliant materials, have likely better traction.
  • You can see some sort of conglemerate/sandstone rocks nearby. Probably telling about history of mars. Compaction? Fluid? Did it ever get exposed to lava, or a fluid flow to make this rock?
  • Dust accumulation on curiousity... it's definitely been in some weather events.
  • Aruco Fiducials all over the rover for camera calibration - cool! I wish I knew the dimensions of those markers.
  • It's also interesting that kapton tape is just all over the wire bundles without any additional protection!


Unity Namespaces - passing variables

In a unity project I was working on, I was having a heck of a time passing variables between a 3rd party plugin I'd downloaded and was splicing into (ROS Sharp) because I was trying to make some custom ROS messages. The problem is a default unity project script doesn't have a default namespace, so I defined some public static variables in the 3rd party plugin scripts where I needed to handle my custom message. defining some get/set methods enabled me to access it from my project (which others had touched and was filled with a cluttered set of related scripts that I really didn't want to try and encapsulate in its own namespace.)

Anyway the solution was found here:
https://stackoverflow.com/questions/740937/accessing-variables-from-other-namespaces


Key Lessons for Unity Projects:
  • Own Namespace (best practice) - Probably good practice to change default unity project script with its own namespace. This is probably good so you don't have conflicts when you bring in 3rd party assets and c# plugins. Probably annoying to setup, but i can imagine this helping tons in big multi-user projects (like the one i'm working on)
  • static variables - sort of like a global variable that shouldn't change much, and here's the kicker - can be accessed everywhere. "A static class cannot be instantiated. All members of a static class are static and are accessed via the class name directly, without creating an instance of the class." This is handy because I don't want to instantiate the class a million times.


PS - I need to play around with https://catlikecoding.com/unity/tutorials/flow/texture-distortion/


Friday, February 19, 2021

Messing around with PostgreSQL

While attempting to look into quantitative stock analysis with a friend we looked at:

But before we could really get going on these tutorials we needed an SQL database, these helped:

Data I'll be digging into:


First successful data load! 

Few quirks I learned and worked out after a couple hours of stack overflow:
  1. Load data from Query line is better - although the gui is ok. Learning the syntax is the hard part. (See example in image)
  2. I get the impression loading each table one at a time is best practice. Turns out this data was huge. Like 253 Million Rows for just one of the files. This became apparent as I tried to edit it with notepad++. I ended up just killing it after waiting 10 mins. Took 5 seconds to load. Wow this is powerful. (When i got it right lol.)
  3. postgreSQL is picky about inputs and data types - like extremely... I tried like 50 query statements until I got one that works.
  4. Permissions to access the file was an issue, likely due to windows file permissions. Moving it to another drive is what I took it out of the windows permissions ecosystem. (alternative was to add everyone user permissions to the files.) Running as administrator didn't work.
  5. I ended up just deleting the header line manually because it only works properly for actual csvs. My file was a .txt. and converting it to .csv was computationally infeasible... Big DATA!


Friday, September 25, 2020

Build video from Images

If you ever want to make a video from a bunch of screen shots, or want to build a time lapse video.

This tutorial works great from Andrew Noske:

Option 3: VirtualDub...... (free, but Windows only)

VirtualDub is for Windows only and was designed for creating and editing AVI files. Once you've installed the program from here

  1. Open VirtualDub then click File > Open, then select the first image in the sequence.
  2. Click Video > Frame Rate, to change the frame rate (once loaded).
  3. Click File > Save as AVI to save.


To combine videos, and do cool side by side videos, I like OpenShot (open source) video editor. 

Saturday, August 1, 2020

Comet Neowise!


So after longing to see comet Neowise night after night as I began my journey into astrophotography I decided to venture out to Mukilteo beach with my gf. I kept looking for it from home, but stellarium indicated that it was below the tree line. Dang! So off we went! It was a refreshing change of pace for both of us. We found a log on the beach some distance away from some folks having a campfire, so there was some ambient light. 

I setup my new skywatcher adventure pro mount with my canon t4i camera. I shot a total of 14 minutes (@ 30 second subs) with my intervolemeter. I used my EFS 18-135mm lens @ 122mm to zoom in a fair amount.  Below is the result after using deepskystacker to merge all the images together, I used GIMP to tweak the levels, and curves to help bring out the trail detail.

Super cool!


Comet Neowise (7/19/20)


Comet Neowise live from the camera! We could see it in realtime!

Comet Neowise from 25mm focal length, you can see the ferry in the bottom left.


CNC Machine
Random aside - Digging up some old links, I stumbled onto my CNC machine blog post (which at the time I did on a forum).
https://www.cnczone.com/forums/cnc-wood-router-project-log/125139-cnc-engineering.html


Thursday, July 9, 2020

Diving head first... Astrophotography!

Canon T4i with new 300 mm telephoto lens
We'll I've thrown myself into the deep end again. This time its astrophotography... Struggling to get a successful image stack of any kind for the past three days. I've been trying my hand @ doing image stacking using my Canon T4i DSLR with static tripod setup pointed at some bright stars in city limits with very low expectations. I must be a crazy person - running out into the neighborhood in the middle of the night with my camera...

I just wanted to go through the motions and see if I could get a stack even if its ugly! I've used standard telephoto lenses @135mm and @300mm zoom and long exposures (5-15 seconds per shot) and attempted to combine with deepskystacker (using both dark's and lights). I tried on vega, denab, and arcturas as my focal spots because they stood out in the sky.


I've made mistakes and gained a lesson from each:
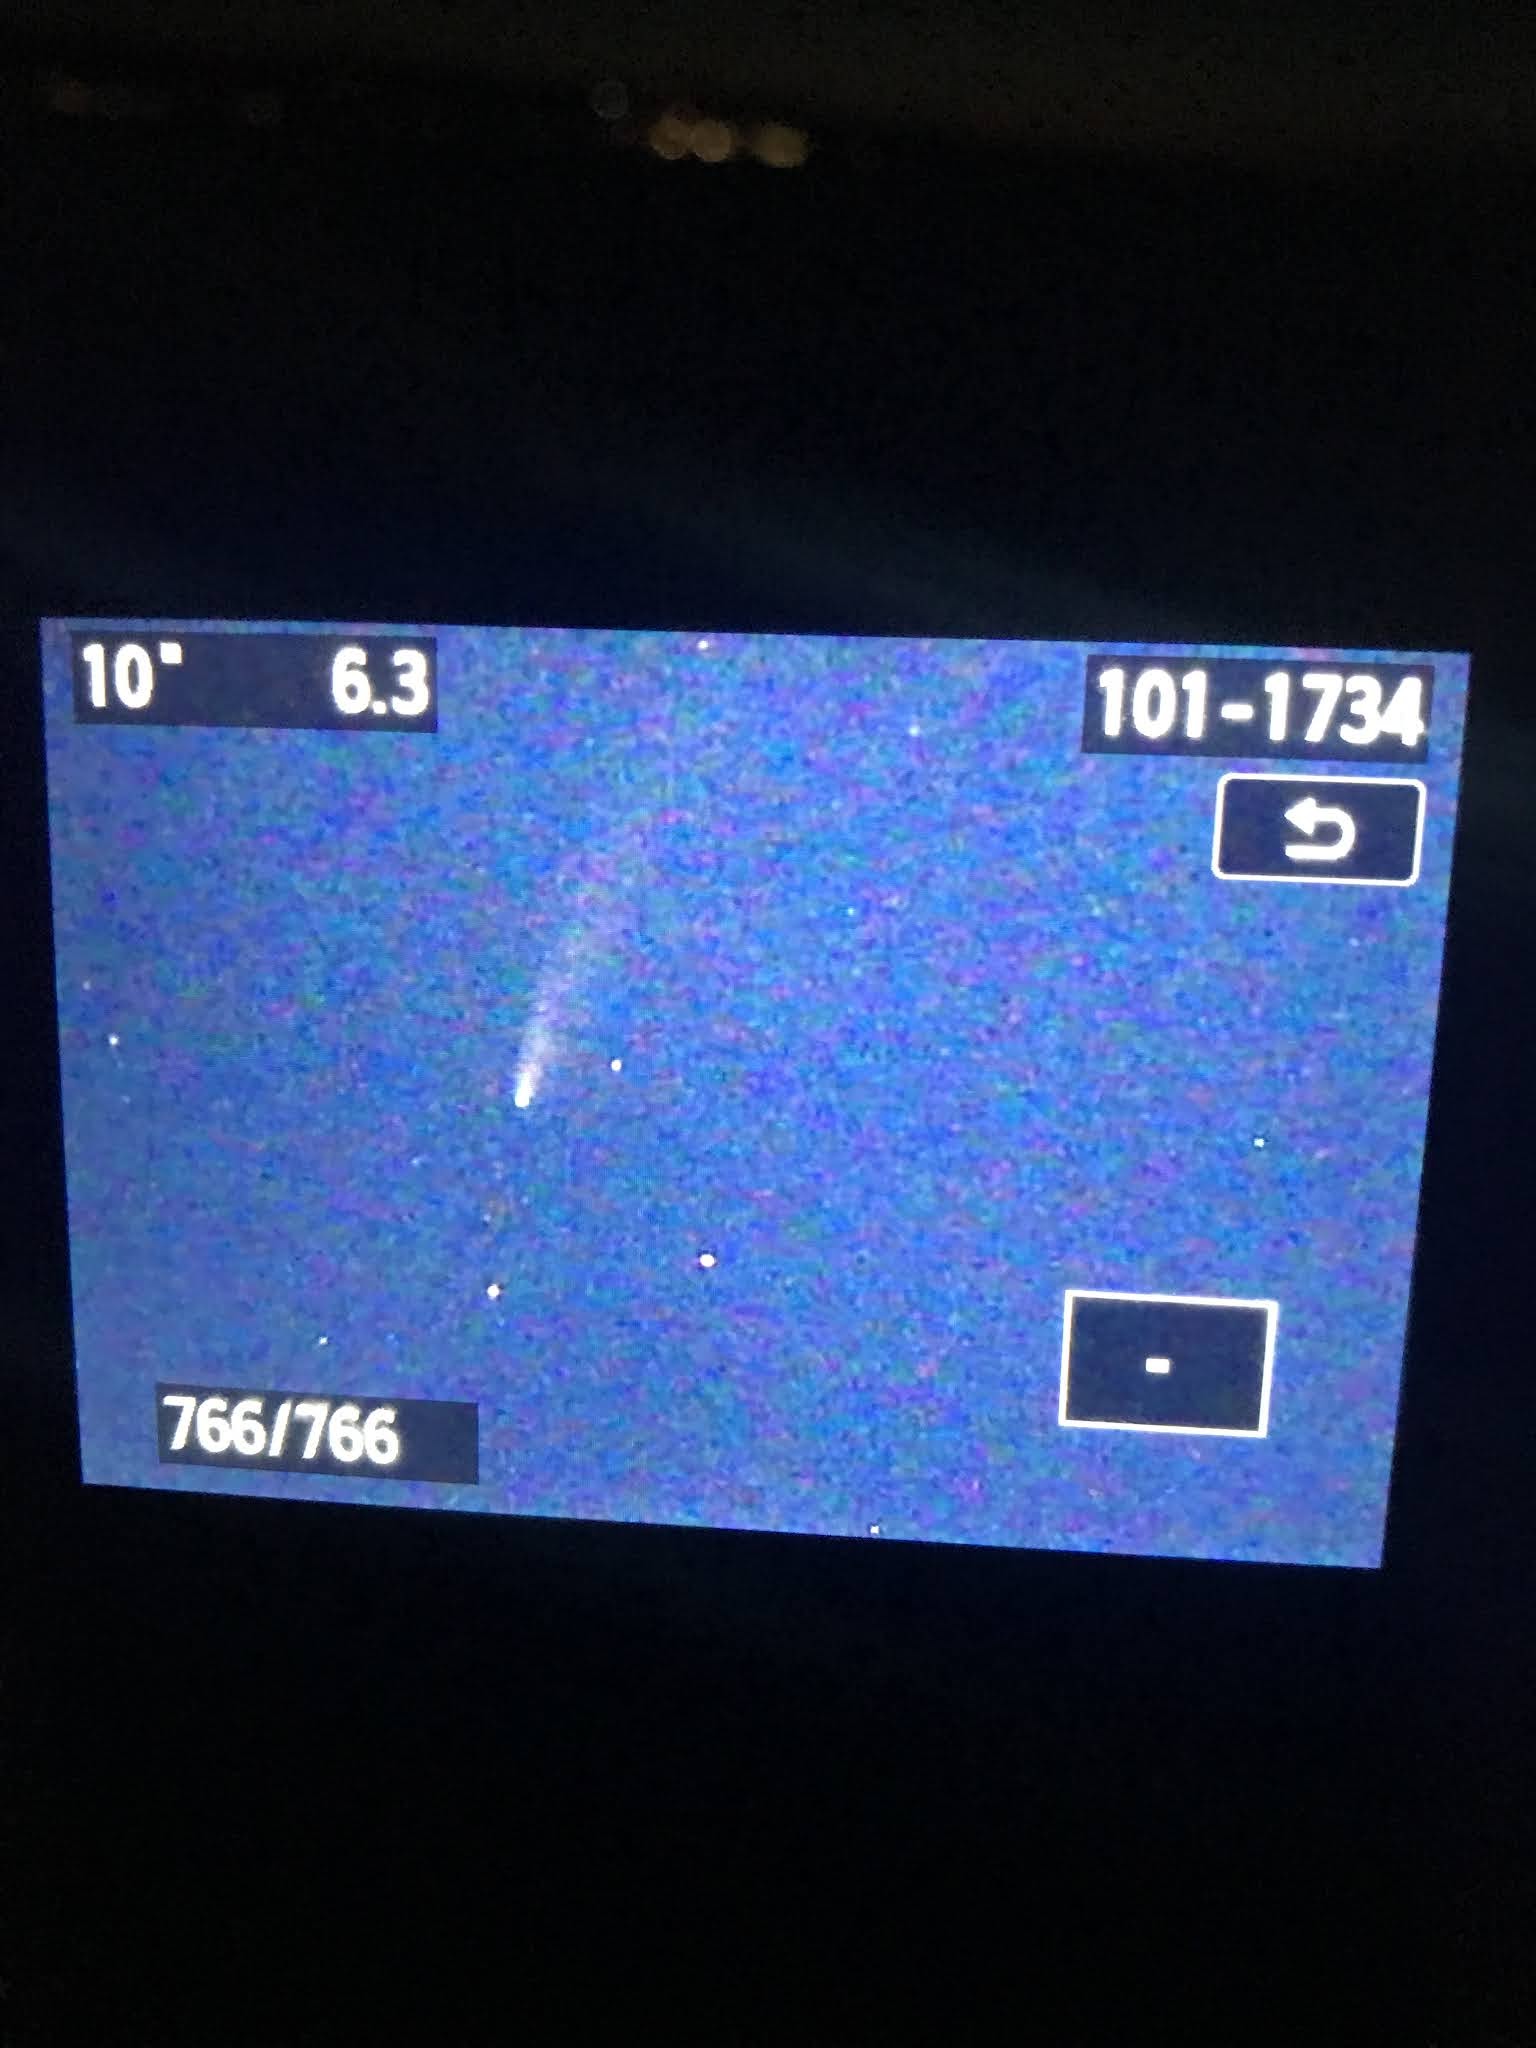
Arcturas - short exposure (1s)
(1) Arcturas - super duper cloudy - probably wasn't worth shooting at all, because i could barely make it out with my own eyes, and camera only picked up like 5 stars at most. Did it anyway cause I need to get my hands dirty. (lots of 1 second exposures) Probably didn't expose long enough to pick up anything meaningful.
Vega - too long an exposure (30s)
(2) Vega - a little better of a night partially cloudy - whisps of clouds went across some of the photos, but in hindsight all my photos were exposed too long (30 seconds) and the stars streaked. I also forgot to manually set it off of auto-iso for pretty much all the data.
(3) Denab - Clear night - visibility index was 23% (my gf told me from some app - no idea what) Neighbors turning on/off lights, i ignored this, and tried to move where in the neighborhood lights weren't directly blaring at the lens. Looking at the pictures, it seems obvious that I wasn't focused right. This was the first night i transition from the 18-135mm lens to the 75-300mm lens, so lots more zoom, but I guess cause I ddin't zoom in on the screen i couldn't tell that it wasn't focused...
Deneb - Focus it stupid!

Oooof! This is a slog. Regardless of throwing these stacks of 100- 170 photos into deepskystacker, I can't get it to produce a single stacked image it can never figure out how to combine more than one image? Can't fault the software when you have crappy input. I guess it can't register the pictures cause it can't find the stars? And so the journey continues...


PS - I just bought this EQ6-R Mount from Agena AstroProducts. It was a tough choice between agena and High Point Scientific. Simple fiscal difference made it simple. Probably going to shoot with my camera and these standard lenses while i hunt for the right Celestron EdgeHD... Wish me luck!